October 11, 2014

A Super Easy DIY Elsa Dress

diy elsa dress

Just for fun, we tried making a Snow Queen dress with the two T-shirt method I first used to make Alice's Rapunzel gown.

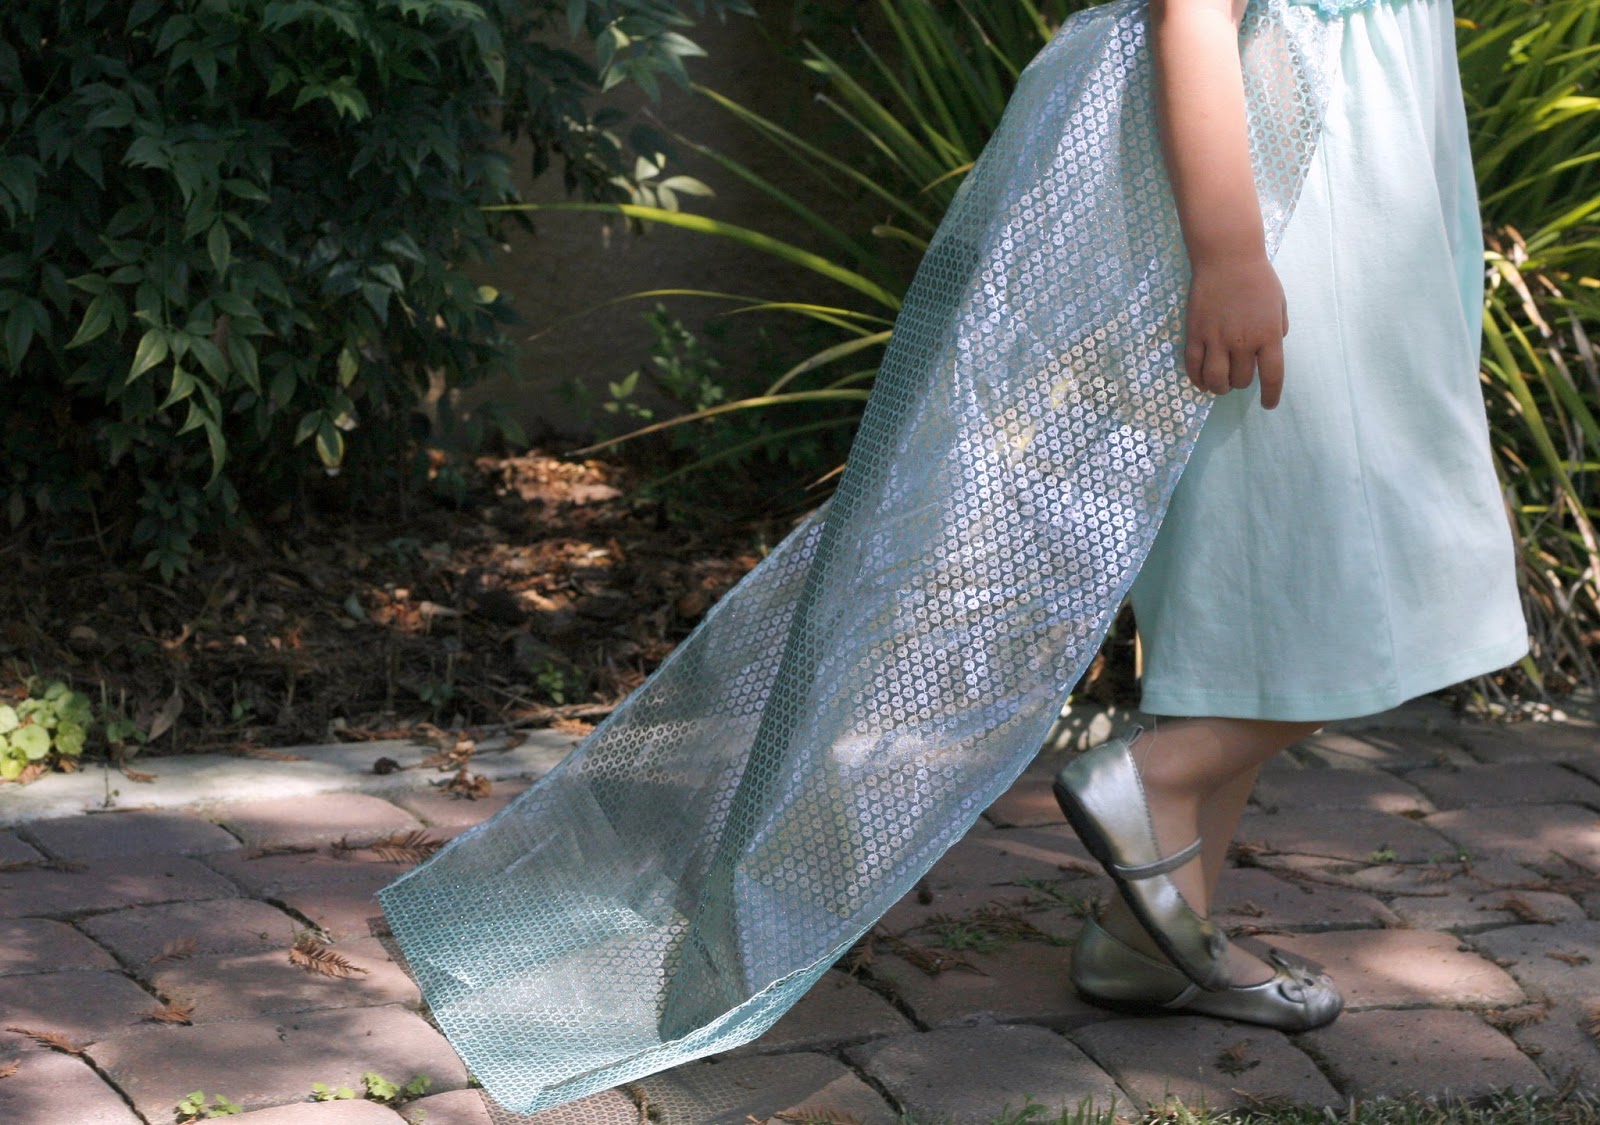
I don't know if I like it quite as much as I liked the original Rapunzel version, but it came out all right, I think - Alice was really happy, anyway. Especially with the train.


The idea, again, is that the dress doesn't have to be an exact replica to be dress-up perfect. It just needs to be sort of the right color with a few of the right details. That's all an able make-believer needs.

I like that these dresses are inexpensive, easy to make and easy to get in and out of. And, this time, Alice got to help a little bit with the sewing, which was really fun too.


Here's what you need:

  • A T-shirt sized to fit your child
  • A T-shirt sized to fit an adult (I used a women's XL)
  • Basic sewing supplies
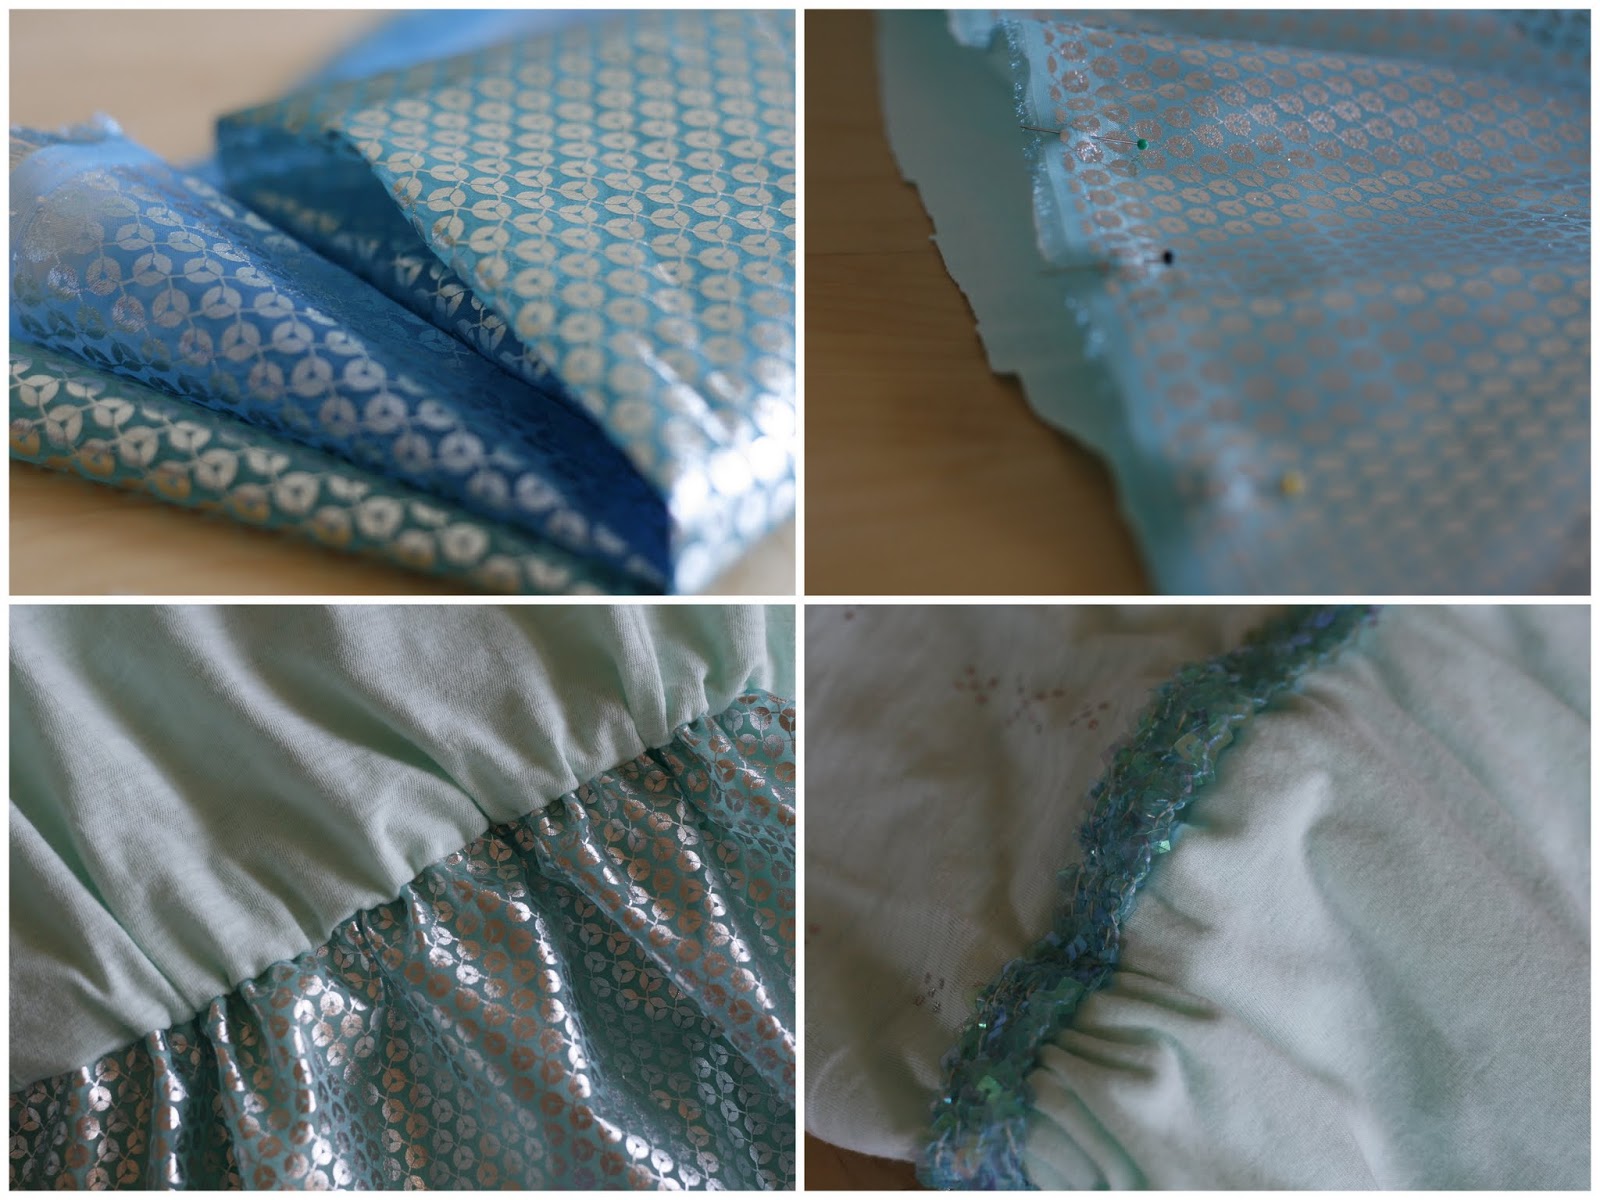
  • Embellishments - if you want to add Elsa's cape/train thing, try half a yard of tulle or something sparkly-shimmery. We found the material for ours in the remnant bin at the fabric store.
  • Quarter-inch thick elastic

diy elsa dress

And here's what we did:
  • First, cut across the child-sized shirt about an inch below where you'd like the waistline of the dress to be. For us, this was a couple of inches below the arm openings. That's your bodice.
  • The adult-sized shirt will become the skirt. Decide how long you want it to be, then cut accordingly across the top of the shirt. For Alice's dress, I cut just under the arm openings.
  • Depending on the difference in width between your bodice and skirt pieces, you might need to gather the skirt a bit. If so, do that now. Then, if your dress is going to include the cape, pin that piece of fabric to the back of the skirt. (In retrospect, though, I kind of wish I had made the cape detachable, so something to consider). Finally, sew bodice and skirt together, right sides facing, with a one-inch seam allowance. 
  • Instead of trimming the excess fabric from the seam you just sewed, stitch another line within the seam allowance, about halfway between the original seam and the raw edge - you're creating a little casing for an elastic waistband to give the dress some shape. Don't sew all the way around this time - leave a 2-inch opening.
  • Using some of your child's existing clothing as a guide - leggings work well - measure off a length of elastic. Attach a safety pin to one end and thread it through the casing you created. Sew the elastic ends together, then sew the opening shut.

That's it. The dress is mostly done. Now you get to add some details.

diy elsa dress

diy elsa dress

The child's shirt I bought for this project already had a silver foil print on it, which worked nicely. If it had been plain, I might have added some sequins or rhinestones or something. The material we used for the cape was also sparkly to begin with. So, all we really added was some square-shaped sequined trim that kind of called back to Elsa's ice dress in the movie.

March 7, 2014

A Tulip Farm in Northern California

tulip farm
Photos and text by Jennifer.

John Bos is the son of immigrants who moved to California from The Netherlands in 1959.

Decades later, John was standing outside the family's Modesto dairy, admiring some tulips his mother had grown.

Then, John remembers, "My mom says, in her Dutch accent, 'Why don't you grow some and sell them for cut flowers?'"

And he did.

tulip farm


tulip farm

John started small, planting a couple hundred bulbs and sharing the flowers with family and friends.

Now, he plants 100,000 bulbs a year - imported from Holland - at his Modesto-based operation, Dutch Hollow Farms.

I had the chance to visit Dutch Hollow a few times recently on assignments for The Record newspaper and San Joaquin Lifestyles magazine.

What I didn't know about growing tulips is what an artisan's touch it demands: Throughout the short season, John has to carefully manage the sunlight - warm Valley winters can trick flowers into opening too soon, before their stems have had a chance to stretch.

There are easier flowers to grow and easier ways to grow them, but John believes Dutch Hollow's big, vibrant blooms owe to his hand-crafted approach.

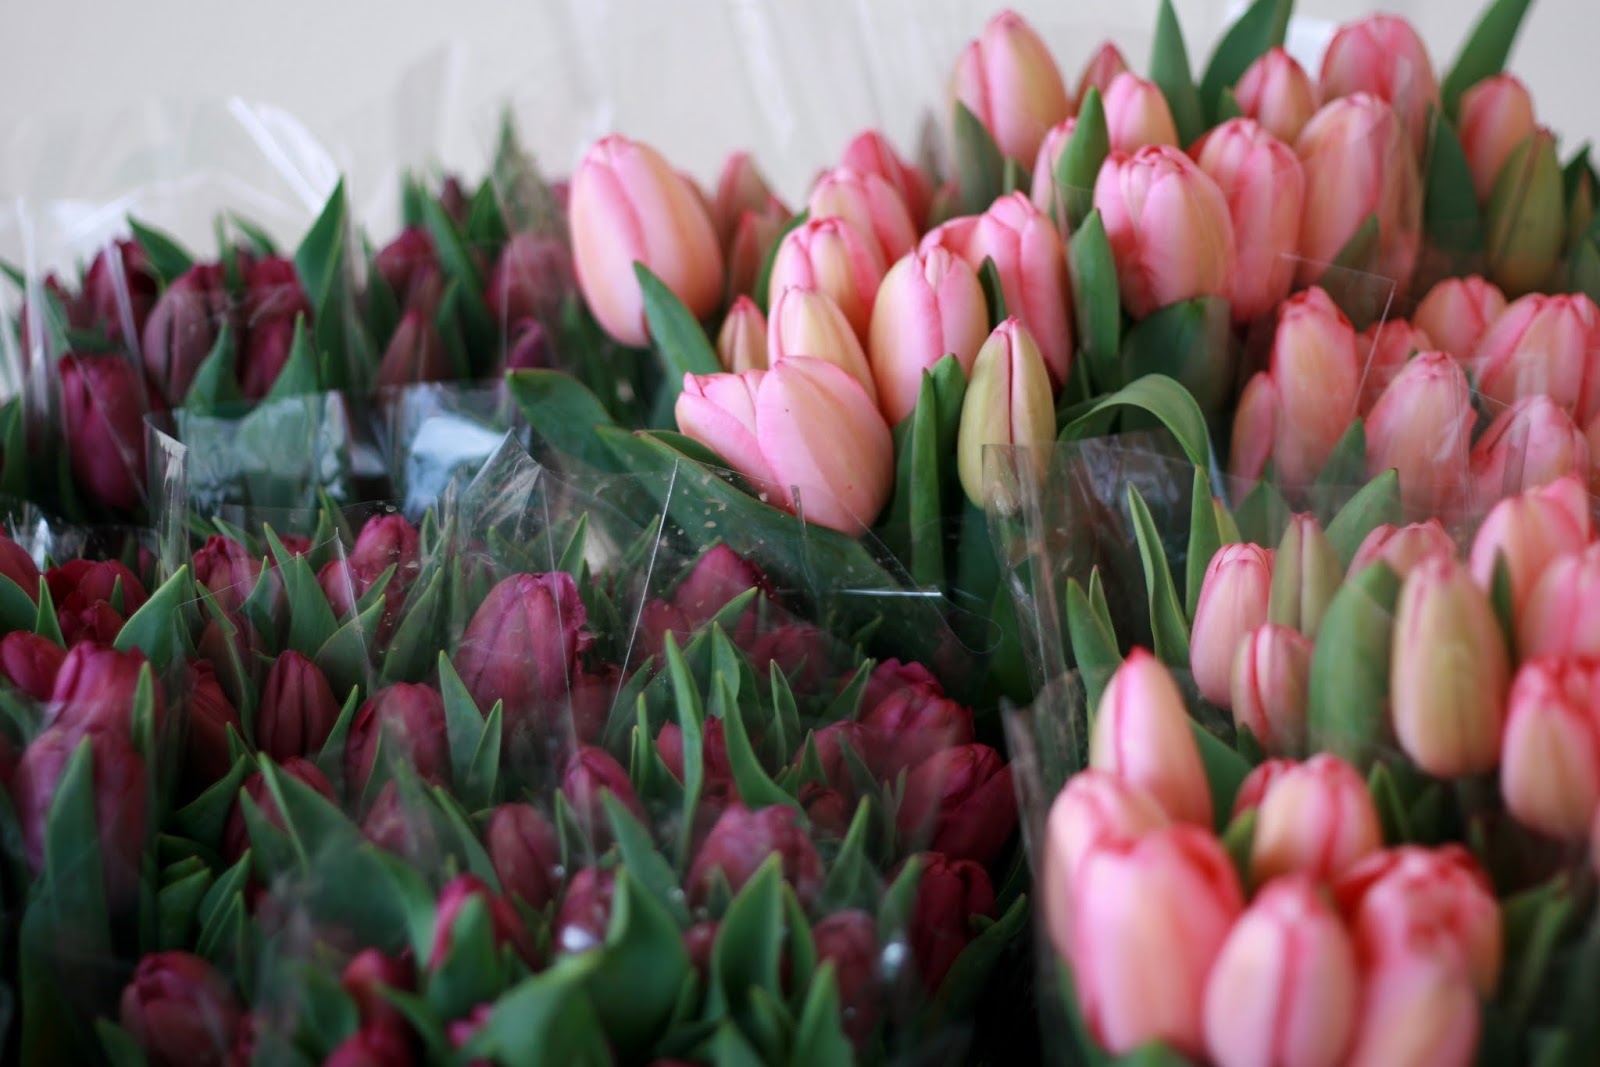
tulip bouquets

John's flower stand is open daily from 9 a.m. to 5 p.m. And this weekend (March 7, 8 and 9), to celebrate the peak of the tulip season, Dutch Hollow Farms is hosting TulipMania, where visitors can pick their own tulips to plant at home or to trim into bouquets.

tulip farm

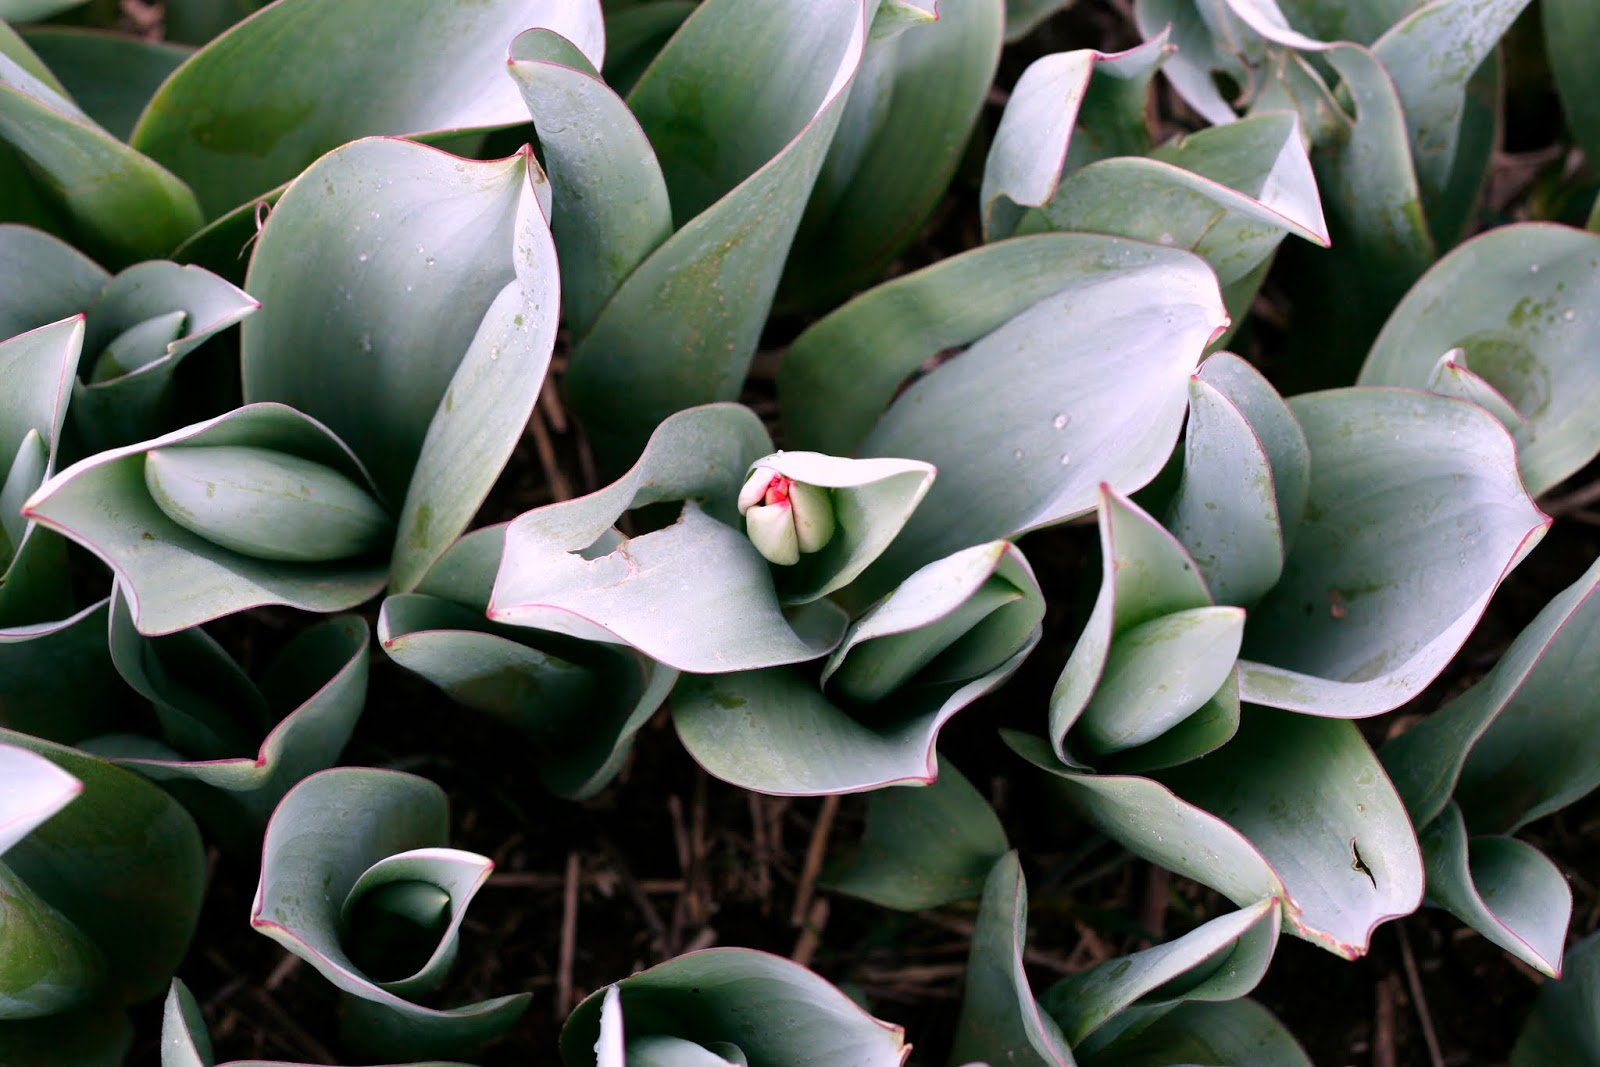
tulip bloom


You can read more about Dutch Hollow Farms in The Record or the next issue of San Joaquin Lifestyles.


February 18, 2014

Super Easy Princess Dress

easy princess dress

Alice wants to grow her hair so long it touches the ground. She'd like to toss it out of a tower window and let people climb on up. She thinks that would be fun.

I'm still hoping she outgrows (ha!) Mission Rapunzel before she realizes the mismatch between her vision and reality. But for now, anyway, she is committed to the fantasy.

So, when I saw a long blond wig in the toy aisle  the other day, I thought it would make a fun little treat for her.

And of course it would be even more fun if she had a Rapunzel dress to go with it, but I didn't want to spend a lot of money and didn't have a lot of time to make one.

Then I remembered the most important lesson I've learned about making princess dresses: They're not too difficult.

At least, not necessarily. If all you're looking for is a fun addition to the dress-up wardrobe, the gown doesn't have to be a perfect facsimile. With the right color palette, all you really need is to suggest a few signature details - kids' imaginations will take them the rest of the way.

For Alice's version of Rapunzel, those details were the sleeves and lace-up bodice. With that in mind, I tried to think up the simplest foundation possible and decided to try making a dress out of two T-shirts. This gave us a dress that is softer than most store-bought costumes, and a lot easier to get into.

easy princess dress

It came out pretty well, I think! You can get this done in a couple of hours. Here's what you need:
  • A T-shirt sized to fit your child
  • A T-shirt sized to fit an adult. (I used a medium)
  • Basic sewing supplies
  • Embellishments
  • Quarter-inch thick elastic
(The shirts I found were darker than I would have liked, but I got them both for $5 total, so I figured it was a good compromise).
  • First, cut across the child-sized shirt, a couple of inches below the arm holes. This will be the bodice.
  • The adult shirt will be the skirt. Decide how long you want it to be, then cut across the top of the shirt accordingly. For Alice's dress, I cut the adult-sized shirt right at the base of the arm openings.

easy princess dress
Cut each shirt, roughly where indicated above.

  • Depending on the size difference between your bodice and skirt pieces, you might need to gather the skirt a bit. If so, do that now. Then, sew the two pieces, right sides and raw edges together, with a 5/8 seam allowance. Using a zigzag stitch will make it easier to work with the knit fabric.
  • Instead of trimming the excess fabric, stitch another line into the seam allowance, about 3/8 of an inch away from the original seam. You're creating a little casing for elastic to give the dress some shape - make sure to leave a 2-inch opening.
  • Using some of your child's existing clothing as a guide - leggings work well - measure off a length of elastic. Attach a safety pin to one end and thread it through the casing you created. Sew the elastic ends together, then sew the opening shut.
That's your basic dress.

Now you get to add some details.

easy princess dress

The lace-up bodice and slashed sleeves were beyond the scope of what I wanted and had time to do with Alice's Rapunzel dress. Instead, I tried to suggest those details with some pretty trim and ribbon. Finally, I added a little embellishment to the hem and neckline.

easy princess dress

She was convinced.

easy princess dress

I'd love to try this with other costumes. Cinderella and Snow White could be really fun, but those ladies are already represented in our dress-up drawer, so perhaps Tiana or Belle? Princess Anna might be too tricky for this method, but I bet you could pull off a credible Elsa. And why not non-princesses like Wonder Woman or Super Girl?

Update: We tried an Elsa version.
Related Posts Plugin for WordPress, Blogger...