It seems early for her to be teething, but my baby girl has been dribbling like an adorable little faucet lately.
Rather than change damp onesies all day, I've started to put bibs on her. She's not eating solids yet, so we don't need anything heavy-duty - just enough to keep her shirt dry.
And with Fourth of July around the corner, I thought I could make her something a little fun and festive too.
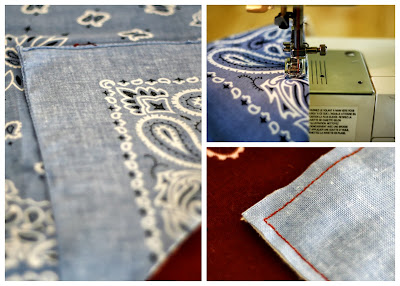
This bandana bib was super easy and pretty economical. Here's how to make one.
You'll need:
- A bandana
- Absorbant backing material (I used flannel)
- Sew-in Velcro or snaps
- Sewing supplies
- First iron your bandana flat, then fold one corner up to the center. Cut along the fold to create a triangle. (My baby is almost 4-months-old, and this just fit her. If you have an older or chubbier baby, you might need a larger triangle. Try measuring around the neckline of a t-shirt to figure out how wide your base should be.)
- Cut a matching shape out of the backing material.
- Pin the front and back sides of the bib together, right sides facing.
- Sew around all three sides, leaving a 2-inch gap.
- Trim, turn the bib right-side out and iron flat.
- Top stitch along all three sides, this time sewing the gap closed.
- Attach your Velcro or snaps. To avoid frustration later, make sure one tab is sewn onto the bandana side and the other is sewn onto the backing side.
That's it.
Have you ever seen a sweeter bandit?


