Showing posts with label Valentines. Show all posts

February 12, 2014

Name a Roach for Your Valentine

I had some disappointing news today. Nothing at all serious or, in the long run, even important. Just a small frustration that left me feeling a little deflated.

Until I discovered that you can name a cockroach for your valentine at Micke Grove Zoo.

Now I am beside myself.

funny valentine

The zoo explains:

"Do you have a love that can't be squashed? ... Nothing says 'forever' like a cockroach. Not only are they strong and resilient, they've also been around for about 300 million years. What better way to tell someone that you hope your love will last forever than to name a Madagascar hissing cockroach in their honor?"

Right?

I love it.

Madagascar hissing cockroaches are among the more than 50 species at Micke Grove. Naming a roach costs $10, a tax-deductible donation that supports zoo operations and educational programming. Your (thrilled!) recipient will receive a personalized digital certificate and recognition at the zoo. It's a limited-time offer, friends. Order here.

February 11, 2014

Valentine's Day Trail Mix

Valentine's Day snack


Alice's class will have a Valentine's Day party at the end of this week.

She can hardly wait.

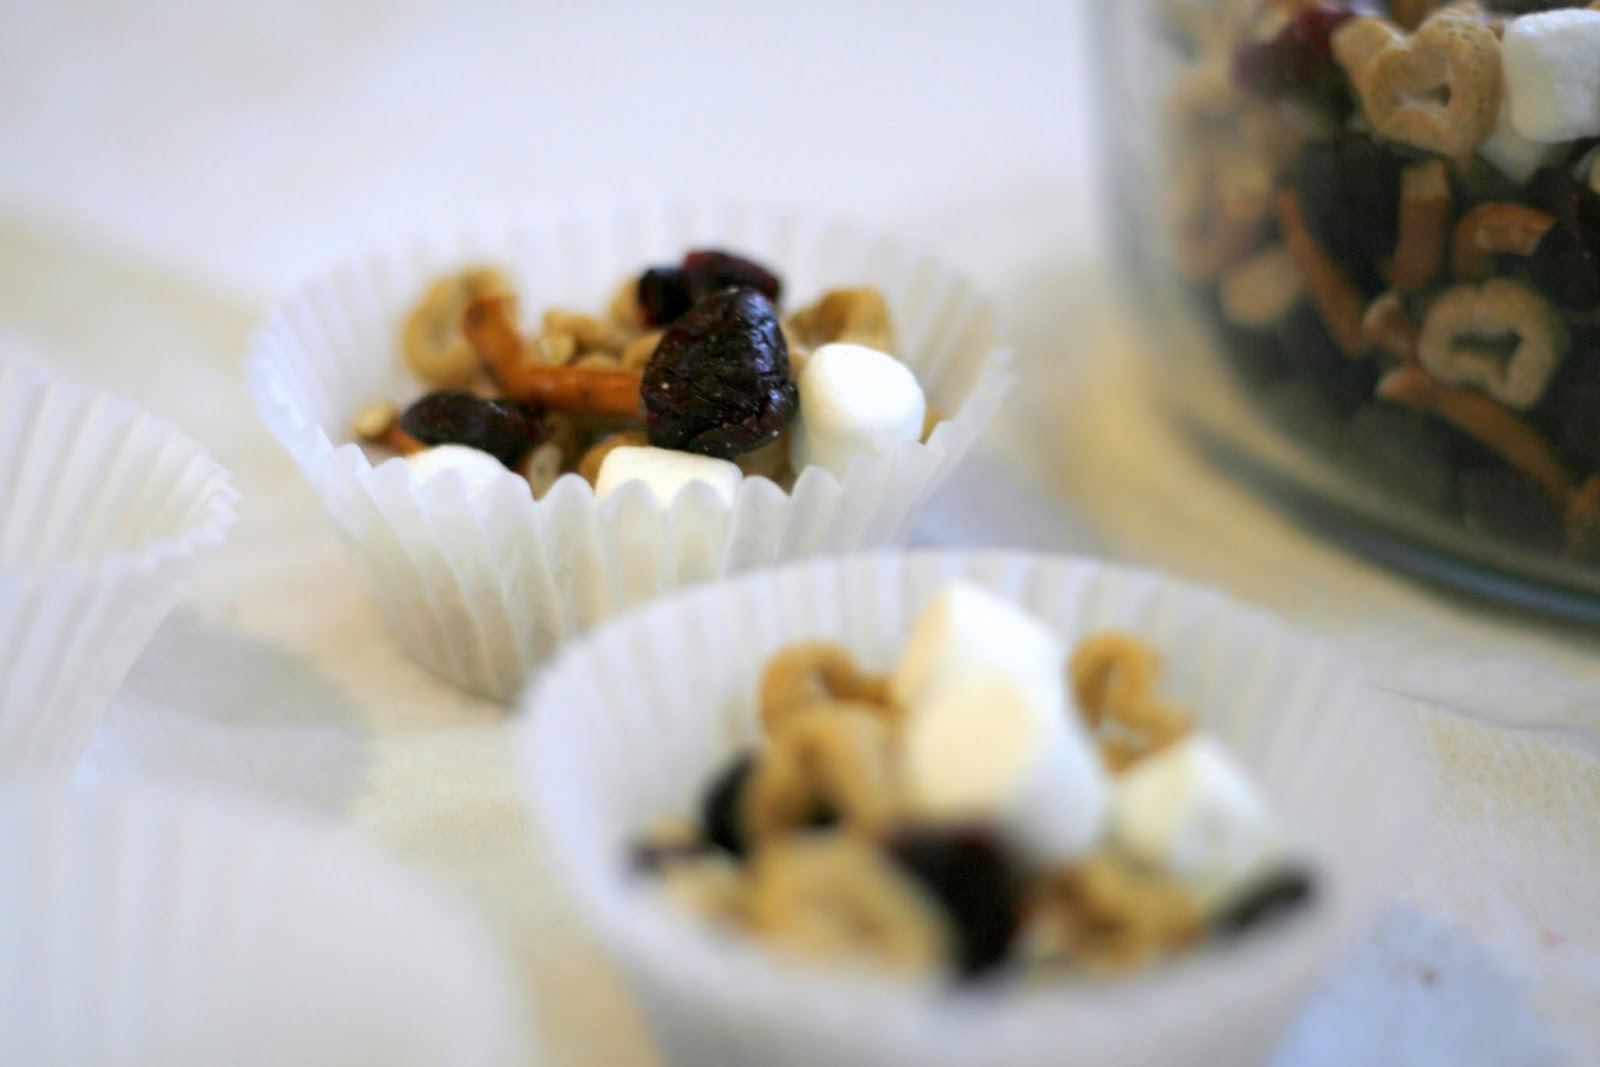
In the meantime, since both of us were feeling festive, we decided to throw together a fun little Valentine's Day snack - she's enjoyed munching on it after school.

It's super easy and a great measuring activity for preschoolers or even toddlers.

Valentine's Day Snack

Make as big or small a batch as you'd like using:

  • Two parts Quaker Whole Hearts cereal. (I chose it for the shape, but if you can't find it, any kind of 'Os' cereal would work).

and one part each

  • Chocolate chips
  • Mini marshmallows
  • Dried cranberries
  • Something salty - we broke apart some pretzels, but I bet popcorn would be tasty too

For a little more color and zip, you could also toss in a handful of cinnamon heart candies

(For our smallish batch, we used 1 cup of cereal and half a cup of everything else).

Valentine's Day snack

Pour everything into a bowl and mix.

Alice and I served ours in paper cupcake liners, but I think this treat would be extra special inside some simple paper favor bags.

Valentine's Day snack


Find more Valentine's Day DIY ideas here.

February 10, 2013

DIY: Valentine's Day Bookmarks

felt bookmark

For a while now, bedtime has been a special ritual between Alice and her dad.

He wrangles her into her pj's. She pulls a few books from the shelf. They settle down and cuddle up.

Most days, I pick Alice up from nursery school and the two of us have at least a couple of hours together before my husband gets home from work.

The evenings speed up, then, as dinner is made and eaten, as the bath is drawn and drained.

So, story time is a precious cozy-quiet time for Alice and her dad - and it's one I am so glad they can share.

Lately, they've been mixing some longer books - a Beatrix Potter anthology and the Uncle Wiggily stories - in with the usual mix of picture books, and I thought a simple, little bookmark might make a sweet Valentine's Day token for the two of them.

This project takes a bit longer than the homemade valentines I shared last week - but not much. And it's a craft an older child could easily put together as a gift for teachers or friends.

You'll need:
Felt - just scraps are fine
Scrapbooking paper or cardstock - something with heft
Glue
Embroidery floss and a needle
Buttons, sequins, ribbon - whatever your favorite embellishments are

valentine's bookmark

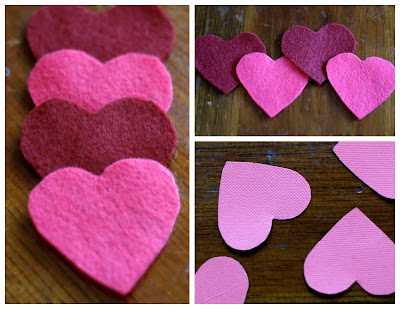
Step 1: For each bookmark, cut out two identical felt hearts (mine are about 2 1/2 inches across at their widest). You don't have to be exact here, but try to make the base of the hearts as close to right angles as possible - this will help the bookmark stay on the page.

Step 2: Next, for each bookmark, cut two identical hearts - just smaller than the felt hearts - out of your cardstock. Set these aside.

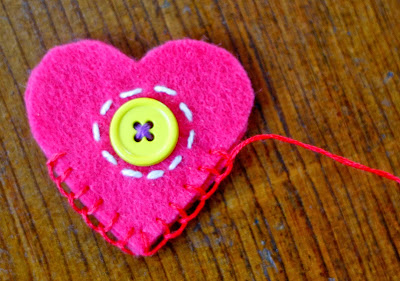
Step 3: Choose one of the felt hearts to be the front of the bookmark and embellish. I kept mine pretty simple, but you can go as fancy as you please.

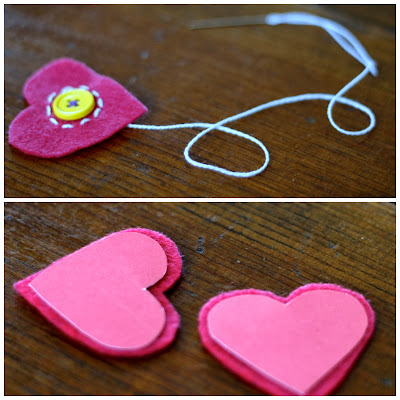
Step 4: Glue the paper hearts to the backs of the felt hearts. This step is sort of optional, but it will make the bookmarks sturdier and help them "grab" the page.

felt bookmarks

Step 5: Starting halfway up the heart, stitch or glue the front and back sides of the bookmark together. If, for symmetry's sake, you want to continue your stitching all the way around the heart (I did), just make sure the stitches along the top of the heart only go through the first layer of felt - you need a pocket for those book pages.

felt bookmark


February 6, 2013

DIY Valentines: Super Easy and Candy-Free (Day 4 - Glow Sticks)

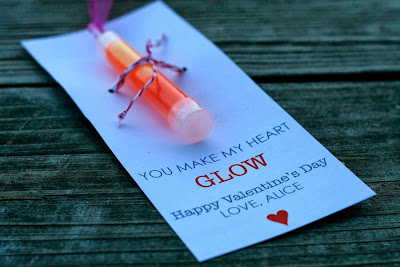
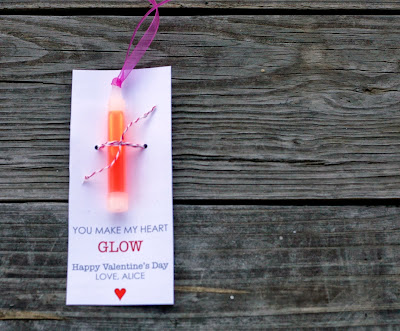
This week, I'm sharing some ideas for homemade valentines that are inexpensive and simple to pull off - and that don't involve candy. Up today? Glow sticks.

Glow stick valentine

Don't tell, but I think these are the ones Alice will bring to school next week. 

Who doesn't love a glow stick?

These came from the party-favor aisle at Target and cost a few dollars for a pack of 5. (There are also glow-y necklaces and bracelets, glasses and swords ...)

I looped a festive ribbon through the hole on top and attached each glow stick to a card with some baker's twine. I'd also recommend a dot of glue or rubber cement to make the valentine a little more secure.

I don't expect the glow to last very long - but neither would a candy bar. And, hopefully, these are just a little bit more memorable and out of the ordinary.

Glow stick valentine

Find more homemade Valentine's Day ideas right here.


February 5, 2013

DIY Valentines: Super Easy and Candy-Free (Day 3 - Stickers)

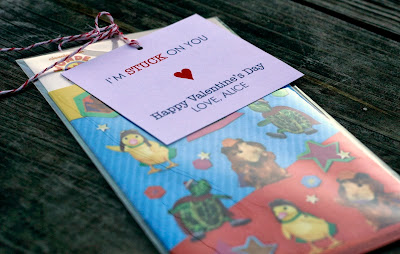
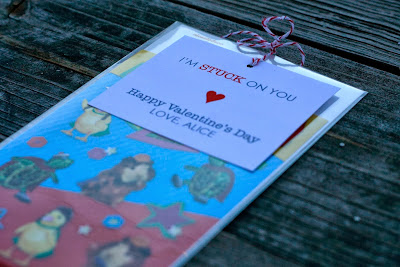
This week, I'm sharing some ideas for homemade valentines that are inexpensive and simple to pull off - and that don't involve candy. Up today? Stickers.


DIY Valentines - stickers

Stickers work nicely for classroom treats because they tend to be pretty low-cost, and it's easy to find boy, girl and gender-neutral options.

(Plus, for kids within a certain age bracket, they seem to have some of the same novelty as candy. Honestly, Alice is rarely so pleased as when she comes home with a special sticker on her sweater, earned for sitting nicely during circle time.)

Take the wordplay in a different direction by attaching the card to a plant marker and tucking it into a potted succulent for a (slightly) more sophisticated teacher gift. Or, what about a basket full of "sticky" office supplies - Post-it notes, glue sticks, tacks, some pretty washi tape?

DIY Valentines - stickers


Find more homemade Valentine's Day ideas right here.

February 4, 2013

DIY Valentines: Super Easy and Candy-Free (Day 2 - Markers)

This week, I'm sharing some ideas for homemade valentines that are inexpensive and simple to pull off - and that don't involve candy. Up today? Markers.

DIY Valentines

I am drawn to you.

Get it?

Say you're the parent of a preschooler. Is it more worrisome to see your child clutching a box of conversation hearts, or a pack of markers?

It's a tough call.

But, for littler kiddos, you could easily substitute crayons here. Or some colored pencils.

And, with the addition of a coloring book or sketch pad (Perhaps some stencils? Even a set of water colors?), you could put together a cute little art-themed Valentine's Day gift.


DIY Valentines

Find more homemade Valentine's Day ideas right here.

February 3, 2013

DIY Valentines: Super Easy and Candy-Free (Day 1 - Shades)

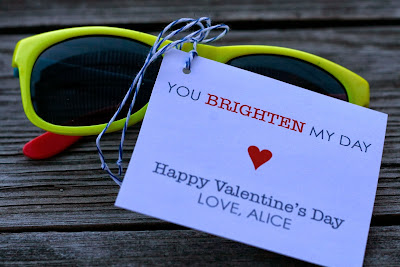
DIY Valentines - sunglasses

I love a homemade Valentine. Especially if there's a terrible pun involved.

However. I don't know if it's because Alice is still pretty small - or if this makes me kind of a spoilsport - but I don't love the idea of sending her to nursery school with a bunch of candy for all her buddies.

Who knows. I could come around. (On the other hand, my principal mom says more and more schools are strictly enforcing no-sweets policies. Valentine's Day included).

In the meantime, I've been trying to think of treats that aren't sugary - but are still a lot of fun.

Last year, we made heart-shaped rainbow crayons for Alice's class.

And they were fun. But they were also a little bit of work and a little bit of mess. This year, I came up with a few even easier ideas that I'll be sharing over the next few days.

Seriously, you can knock any of these out this weekend with little more than a printer and a trip to the dollar store.

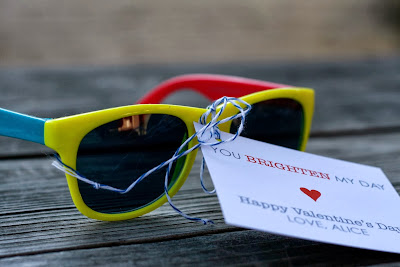
First up: Valentine shades.

DIY Valentines - sunglasses

I attached the tag with some pretty baker's twine. If you have more time, and are so inclined, I think it also would be cute to tuck the sunglasses into a simple paper envelope, cut into the shape of an eyeglass case.

Find more DIY Valentine's Day ideas right here

February 12, 2012

Last-minute valentines


You finally made it to the store, and the Valentine's Day shelves were completely picked over?


No problem. Here is a homemade, candy-free Valentine's Day card and rainbow-heart crayon you can make tonight with stuff you either already have - or can get your hands on pretty easily.


You'll need: Crayons, a knife, silicone baking molds (or just a cupcake tin), card stock, scissors, and double-stick tabs or rubber cement

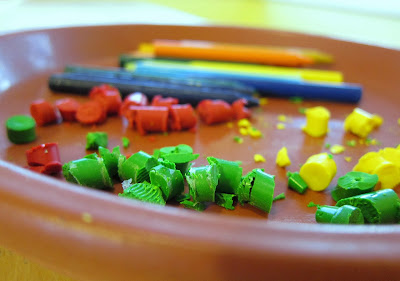
Step 1: Peel the paper off your crayons, then cut them up with a knife - I went for about pea-sized. For me, it took 20 full-sized, regular crayons to make each batch of 14 heart-shaped rainbow crayons. Rose Art was easier to cut than Crayola.


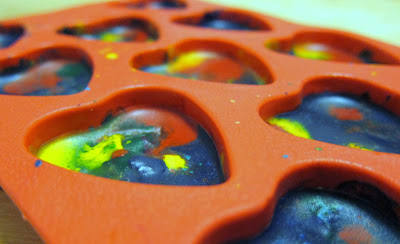
Step 2: Mix up the crayon pieces and drop them into your molds. Fill to the top, without letting any pieces hang over the edges.


Step 3: Bake. You can find lots of instructions online, but here's what worked for me. Since I was pretty sure the molds I bought weren't intended for baking - and certainly not for melting crayons - I wanted to be on the safe side. Once filled,  I placed the molds into a cake pan with a water bath, then baked at  200 degrees, checking every 5 minutes until the crayons were thoroughly melted. Fifteen minutes wasn't quite enough, and 20 was just a hair too long.

Step 4: Remove the molds from the oven, and let the crayons cool and set. While you're waiting, print and cut out your cards. In case you don't have time to design your own, here's a simple little template:

Step 5: Pop the rainbow crayons out of the molds and affix them to your cards with double-stick mounting tabs or rubber cement. (Ask your kid's teacher to remind children not to eat the hearts- they come out looking a little like candy.)


Happy Valentine's Day!

February 7, 2012

Papel Picado: A Valentine's Day Tutorial

The Mexican folk art of papel picado usually is associated with Day of the Dead. But cut-paper banners are strung in celebration of all sorts of holidays and special occasions. (For inspiration, check out the work of San Francisco-based artist Herminia Albarrán Romero.)  Bright and fluttery, they seem especially well-suited for Valentine's Day.


Traditionally, papel picado is made, 50 or more sheets at a time, with small chisels. And like most of the folk arts, it takes years and years to master. But with a simple design and an approach that's scaled way back, you can make a plenty-festive string of cut-paper banners in an hour or two. 


You'll need: A piece of card stock; a pen or pencil; 10 or more sheets of colored tissue paper, cut to 8.5" by 11"; paper clips, a cutting mat; an X-Acto knife or some other tool with a precise blade; scissors; clear glue; and string or twine.

Step 1: Start with a piece of card stock (Typing paper will work in a pinch, but heavier is better - you might even try an old paper grocery bag), fold it in half and draw your design along the fold. Give yourself a few inches of border along the top, bottom and sides, and keep in mind that shaded spaces are going to be removed - make sure your blank areas all connect somehow. When you're finished, cut the card stock in half on the fold. This is your cutting guide.
Step 2: Fold each sheet of tissue paper in half horizontally (I used 10 sheets per batch) and sandwich them neatly between the two pieces of your cutting guide (The piece with your design should be face-up on top). Make extra sure that the folds line up with the center of your design. For stability, bind the stack together with paper clips on all four sides.
Step 3: Cutting - use as sharp a blade as you can. But know that the tissue paper is going to want to snag and tear anyway, so be slow, don't force it and apply pressure with your free hand to help keep the paper still. Start with the smaller pieces - shortest cuts first. Don't worry too much about any rough spots. You can clean them up later with scissors, and after your banners are strung together, small mistakes will hardly be noticeable anyway. Cut out the heart shape last. When you do, you'll be left with a pile of giant heart confetti. Pretty! Remove your paper clips.
Step 4: The magic is in the unfolding. Enjoy and admire.
Step 5: Gently fold the top of one of your banners down a quarter inch. Open, and apply a thin layer of glue above the crease. Lay your twine in the crease and press the fold back down. Continue with the rest of your banners, leaving a few inches of space between them. 
Step 6: Let the glue dry. Hang your banners and invite over a bunch of people who've known and loved you since kindergarten.


If you have kiddos who'd like to help with this project,  try it with construction paper and a design that you can cut out with just scissors.
Related Posts Plugin for WordPress, Blogger...